My son's 3rd birthday was in the beginning of November. I was planning to make the Milk Bar Birthday Cake, and even had all of the ingredients. Unfortunately, I had a fibromyalgia flare, which causes pain and fatigue. And . . . I went with a mix!
A while ago, my church had a chocolate cake Bake-Off, and I and my Chocolate Sour Cream Cake came in second. The first place winner was the Chocolate Cavity-Maker Cake, which uses a mix. It seemed a great choice for my sons birthday cake, especially after I found this Number Three Cake made from 2 Bundts.
It's a very easy cake.
I put in my mixer bowl one chocolate cake mix, one 4 ounce chocolate pudding mix, 8 ounces of sour cream, and 3 eggs.
I added ⅓
I added 1/3 cup vegetable oil and 1/2 cup water (the recipe calls for coffee flavored liqueur) and mixed until smooth.
Then I mixed in 12 ounces or 2 cups semisweet chocolate chips. It was a very nice, thick batter.
I sprayed my Bundt pan very thoroughly with Baker's Secret flour and oil spray, which has given me the most success with Bundt pans. It transferred the batter to the pan and smoothed it out a bit.
I baked the cake at 350 and checked it after 50 minutes, though it ultimately took 70 minutes. The cake should be damp in the middle. I cooled the cake completely, turning it out onto a rack after 15 minutes.
The next day I repeated the whole process.
After both cakes were cool, I cut and arranged them into the shape of he number 3.
As you can tell from the crumb coat (American buttercream), the cake was difficult to ice, which I think is a feature of cakes from a mix. If it wasn't for a birthday, I would serve it without icing, as it was sweet enough as it is.
I decorated with sprinkles and everyone was really happy with the cake. I personally ate the un-iced bits I had cut out to make the 3.
It was a good lesson for me, and reminded me that cake mixes exist for a reason.
On a personal note, I'm going to try to get back into blogging. My mothers cancer seems to be completely gone, and I'm feeling interested in cooking and writing again.
I'm trusting Cook's Country on the Texas part, as I've only visited once and didn't eat anything exciting. It's really a casual blueberry cake.
There's a heat wave in Maryland, so I'm baking this late at night. If it's good enough, the family won't even know about it.
I preheated the oven to 350 Fahrenheit.
I'm using a glass 9 by 13 dish, but cautiously. Consumer Reports has stated that modern Pyrex is a lot less safe than the old stuff. Pyrex used to make borosilicate glass, which is very tough. Not anymore :-) It can break after setting it down on a counter or stove, so I'm taking the recipe's advice an setting it on a wire rack at all times.
I put 4 tablespoons butter in the Pan of Exploding Glass, and put it in the oven to melt.
The recipe called for mixing ¼ cup sugar with lemon zest which I don't have. I do have lemon oil and lemon extract, and I decide to use the extract.
I add 1 tablespoon lemon sugar to 3 cups blueberries, and mash them coarsely. I'm not sure I could mash them any other way, but coarsely is what's called for here.
In a bowl, I mixed 7½ ounces all-purpose flour (1½ cups), 1¼ cups sugar, 2½ teaspoons baking powder, and ¾ teaspoon table salt. I then whisked in 8 tablespoons melted butter and 1½ cups milk. A cake without a mixer! At least I won't wake anyone up.
I removed the pan and butter from the oven and put it on my cooling rack. I poured in the batter, and dolloped over the blueberries.
The cake looked a little sad, so I gave it a swirl with a butter knife, like I was marbling a topping. I made zigzags one direction, the more zigzags perpindicular to the first set.
I sprinkled the lemon sugar over the cake, and gingerly put it in the oven.
45 minutes later, I'm not sure what happened to my pretty swirling. It looks good though, and I am saddened by the 30 minute cooling time.
Thirty-five minutes later, I am very full, and very happy. My new favorite fruit dessert!
Update: the very next day, I re-made the recipe, marbling the batter less.
It turned out MUCH more attractive and just as delicious.
One year ago, I started taking cake decorating lessons to learn to make birthday cakes for my kids. Here's Liam's eight birthday cake
Minecraft is a computer game based on building a world of cubes. I liked the idea of a landscape cake, and saw some cakes on Instrucables (here and here) that used Rice Krispy Treats for the sand blocks, and iced cake for the grass blocks. Both my cake and my Rice Krispy Treats came out approximately 3 centimeters high, so I used 3 cm as my unit length. The smallest cube is 3 cm by 3 cm and every length is an even multiple of 3 cm.
For the cake I used the Chocolate Sour Cream Cake recipe and my American Buttercream recipe. For the Rice Krispy Treats I used a double recipe from ATK Quick Family Cookbook (associate link). For the water I used Wilton piping gel tinted blue over a trimmed Rice Krispy Treat, but you could also use blue gel icing. The base is a scalloped half sheet board I picked up somewhere.
I used American buttercream tinted green to glue the cake layers together. I made the grass topping using tip 233, the famous grass tip. It was very hard on my hands. Also, the grass did not provide a thick icing layer, a minor disappointment to some of the kids.
The kids, and my son, loved the cake. When it was time to cut the cake, I was swarmed by kids who wanted a piece of each: grass, sand, and water.
I haven't made many cakes since my mother got sick, but I made some eggs this morning. I wanted to make "The Perfect Omelet," according to Cooks Illustrated. I have modified the ingredients and procedure a bit.
I started by dicing one tablespoon butter and sticking it in the freezer.
I preheated an 8" nonstick pan on low heat for 10 minutes, setting the timer, with 1 teaspoon vegetable oil.
My pots and nonstick pans are from Ikea and, conveniently, the lid from my saucepan
fits perfectly on my 8" frying pan. You do need a lid for this recipe, so find it now and set it aside.
Break 2 large eggs and 1 yolk into a small bowl, and add a pinch of kosher salt and a little pepper.
I use a plastic storage container as a "garbage bowl" for the egg shells and whites. After having had some coolie dough ruined by bad egg whites, I no longer store egg white or yolks for later recipes, so the egg white goes in there too.
My kids eat sliced mild cheddar cheese (rather than American processed cheese), so that's what I have on hand.
I sliced my cheese slice; this is what we do whenever we need a little grated cheese. The original recipe called for Gruyere, which would be yummy, but I think almost any cheese would work.
In the signature fussiness of ATK, I pierced the yolks with a fork and beat the eggs with the fork for 80 strokes, then mixed in one half of the frozen butter.
When the pan had preheated, I wiped out the oil and added one half tablespoon non-frozen butter, and let it melt and the bubbles subside. The bubbles are water, and you want the water evaporated so the butter can get hot. The white foam is milk solids, which will not go away, but eventually brown and burn.
I put the eggs in the pan and turn the heat to medium-high. The recipe calls for chopsticks, which I don't have, so I used the handle of a wooden spoon to stir the eggs in the video above. I use sort of a planetary spiral of circles, which is easier to demonstrate than explain. I stop when I start to get larger clumps of eggs.
This is where the video stops, because I need both hands here :-)
I smooth out the eggs with a silicon spatula and then sprinkle on one half of the cheese. I then put on the lid and let the eggs sit, off heat, for a timed 2 minutes. Then return the pan to low heat for 30 seconds to finish cooking.
The eggs here are a little soft for me, so I stirred the top a little and cooked another 30 seconds on low heat with the lid on.
The first omelet folded, but the second rolled. It was definitely the best omelet I've made, and the procedure gets faster and easier.
Perfect Omelet
Modified from Cooks Illustrated, January 2009
Serves 2
4 large eggs and 2 large yolks
1/2 teaspoon oil
Salt and pepper
2 tablespoons butter, divided
1 tablespoon cheese, grated, optional
Dice and freeze 1 tablespoon of the butter. Cut the other tablespoon in half, and let it rest on the counter. Preheat an 8" nonstick pan and oil for 10 minutes over low heat. Get handy a lid for the pan, a wooden spoon, a silicon spatula, 2 plates, a paper towel, and the cheese.
While pan is heating, put 2 eggs and one yolk in a small bowl and season. Break yolks with a fork, and beat for 80 strokes.
When the pan is hot, wipe it out and put it 1/2 tablespoon of room temperature butter. Add 1/2 tablespoon frozen, diced butter to the beaten eggs.
When the butter is hot, add the eggs and stir gently with the handle of the wooden spoon. When you see the first large curd, remove pan from heat, smooth eggs with the silicon spatula, sprinkle with cheese, and let rest, covered, for 2 minutes.
Put pan back over low heat, covered, and heat 30 seconds or until done to your taste. Loosen edges with spatula, then transfer omelet to plate, folding or rolling as desired.
This is a favorite recipe I've modified from the very, very good book Slow Cooker Revolution (affiliate link). I've adjusted the seasoning and sweetness to my taste, so feel free to do the same for yourself. I start the oats late in the evening, before bed, or prepare the dry ingredients ahead in batches and freeze.
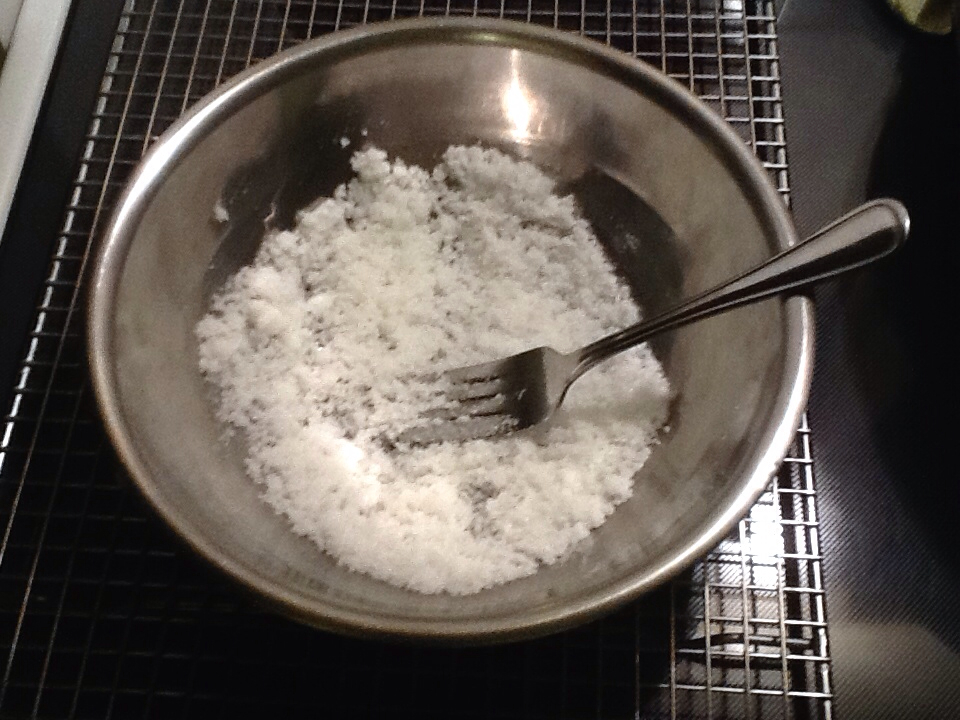
I started by melting 2 tablespoons butter in a 12-inch skillet; I used my Lodge cast iron skillet. When I'm preparing multiple batches, I use a 7-quart Dutch oven.
I measured 2 cups steel-cut oats. They are cheapest in the bulk section if a health food store, but you can even buy them in Walmart now. The fanciest ones are imported from Ireland. "Old-Fashioned" rolled oats are steamed and rolled flat; steel cut oats are sliced (by steel blades) rather than being flattened. They have more flavor and fiber than the rolled oats, but take longer to cook. Un-violated oats are called oat groats, and the intact grain is very slow to cook.
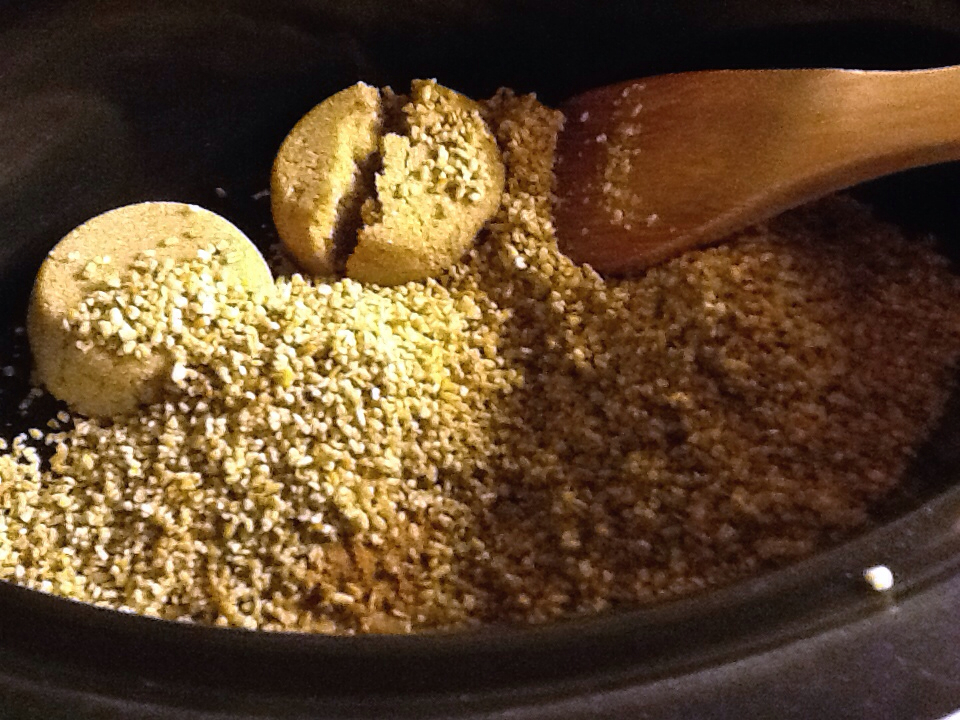
I toast the oats in the butter until medium brown. Toasting is optional, but I never skip it; If I'm going to make "real" oatmeal, I might as well go all the way. I tried very hard to capture the color above, but I'm not the best photographer. You're going for slightly darker color on average, with none if the oats reaching the dark-brown burned state, which would flavor the whole batch.
I add the toasted oats to my large slow cooker, along with 1 teaspoon salt, 1 teaspoon cinnamon, and 3/4 cup light brown sugar. These amounts are all adjustable to your taste. I've added raisins, but the long cooking time makes them a little prune-y.
Next I add 8 cups water, or 1/2 gallon. Conveniently, I have a 1/2 gallon water pitcher from the Dollar Store.
Things do not look delicious at this point :-) I went to bed.
The ideal cooking time is 4-6 hours on low. This works for us because my husband gets up earlier in the morning than I do. It's not really a problem if the oats go a bit longer though.
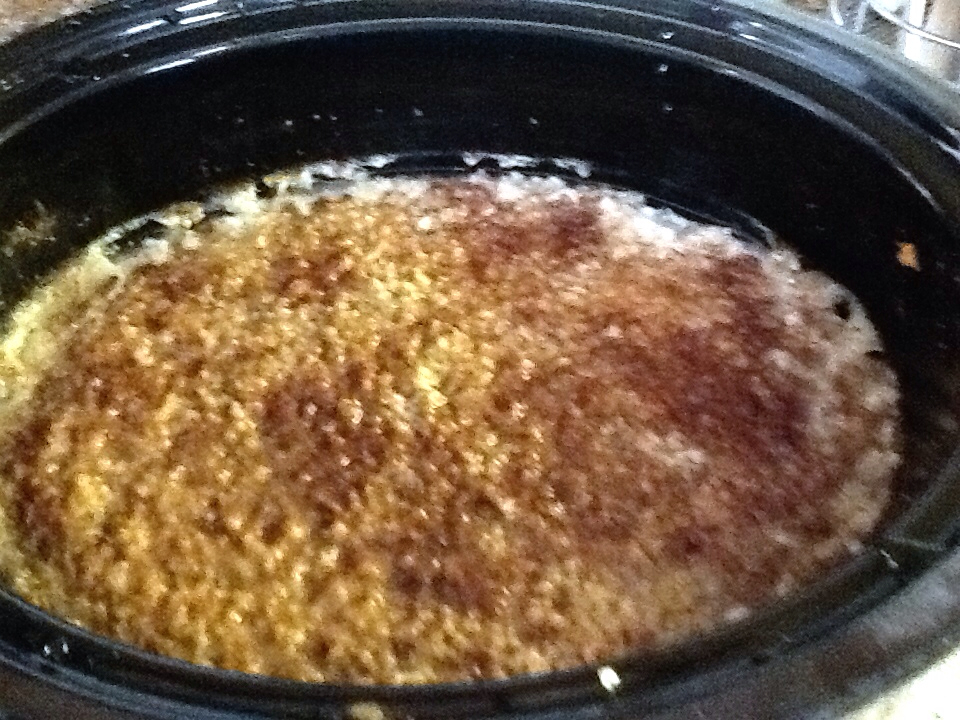
In the morning, the oatmeal looks like this.
It's less exciting but more homogeneous after being stirred.
My husband and I eat a filling portion with milk, then he (wonderful man) refrigerates the rest in 1-serving portions.
On a personal note, I will be posting less frequently for a while. My mother is very ill, and I'm spending a lot of time with her.
Irish Oatmeal in a Slow Cooker
Adapted from Slow Cooker Revolution from America's Test Kitchen
Serves 8
2 tbsp butter
2 cups steel-cut oats
1 tsp salt
1 tsp cinnamon
3/4 cup light brown sugar
8 cups water
Melt butter in 12-inch skillet over medium heat. Add oats and toast, stirring very often, until browned around the edges. Transfer to a 2-quart slow cooker.
Add salt, cinnamon, sugar, and water to slow cooker and cook on low 4-6 hours. Stir and serve with milk.
To prepare ahead, toast oats and transfer to a quart-sized freezer bag. Add salt, cinnamon, and light brown sugar. Freeze. The night before you want to eat the oatmeal, transfer the contents of the bag to the slow cooker, add water, and cook as above. You may easily prepare-ahead several batches of oatmeal in this manner, then freeze in individual bags for later cooking.